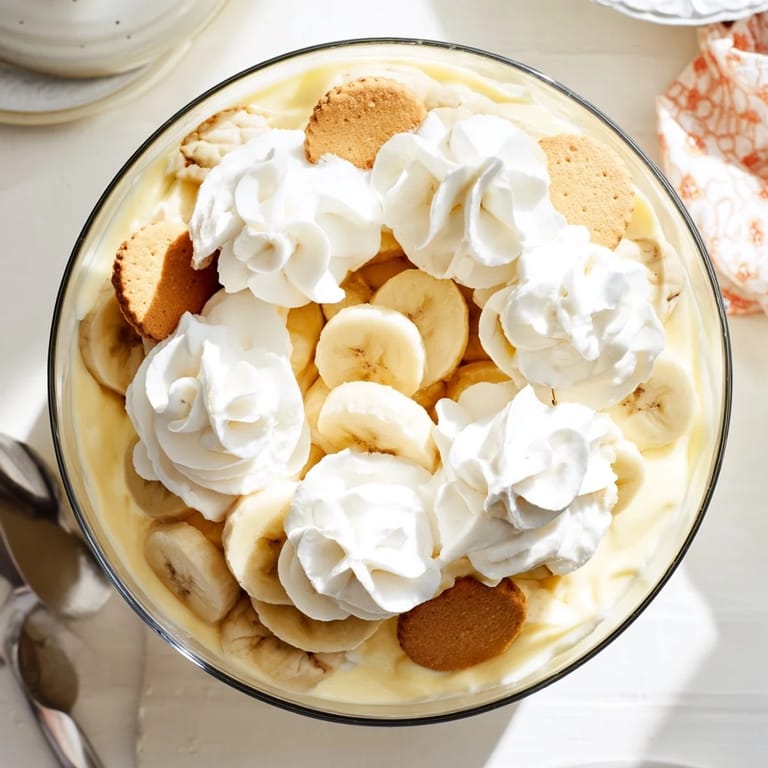
 Pin It
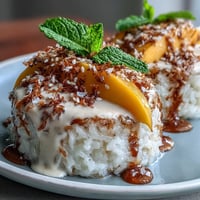
 There's something about that first spoonful of banana pudding that takes me straight back to my grandmother's kitchen counter, where she'd let me stand on a step stool and arrange the vanilla wafers while she stirred the bubbling pot of custard.
I brought this to a potluck last summer and watched three generations fight over the last serving spoon, which felt like the highest compliment my grandmother's legacy could receive.
Ingredients
- Granulated sugar: The foundation of your custard's sweetness and structure
- Cornstarch: This thickening agent transforms milk into velvety pudding magic
- Salt: Just a pinch wakes up all the other flavors
- Whole milk: Don't skimp here the richness makes all the difference in the final texture
- Egg yolks: These create that luxurious creamy consistency we're chasing
- Unsalted butter: Adds a silky finish that makes the pudding taste professionally made
- Vanilla extract: Use the good stuff because this flavor carries the whole dessert
- Vanilla wafers: The classic choice that softens beautifully into cake-like layers
- Ripe bananas: Look for ones with some brown spots for maximum sweetness and flavor
- Heavy cream: Whips up into that cloud-like topping that makes this dessert feel special
- Powdered sugar: Sweetens and stabilizes the whipped cream without graininess
Tired of Takeout? 🥡
Get 10 meals you can make faster than delivery arrives. Seriously.
One email. No spam. Unsubscribe anytime.
Instructions
- Mix your base:
- Whisk sugar cornstarch and salt in your saucepan then gradually add milk until everything's smooth and dissolved
- Cook the custard:
- Stir constantly over medium heat until it thickens and just starts to bubble which takes about 6 to 8 minutes of arm work
- Temper your eggs:
- Whisk a small amount of hot mixture into your yolks before pouring everything back into the pot to prevent scrambling
- Finish the pudding:
- Cook a few more minutes until thick then stir in butter and vanilla until glossy and fragrant
- Cool completely:
- Press plastic wrap directly on the surface to prevent a skin from forming then chill until cold
- Build your layers:
- Arrange wafers bananas and pudding in thirds repeating until your dish is full with pudding on top
- Chill thoroughly:
- Give it at least 2 hours so flavors can mingle and cookies soften into perfect texture
- Add the crown:
- Whip cream with powdered sugar and vanilla until soft peaks form then spread generously over everything
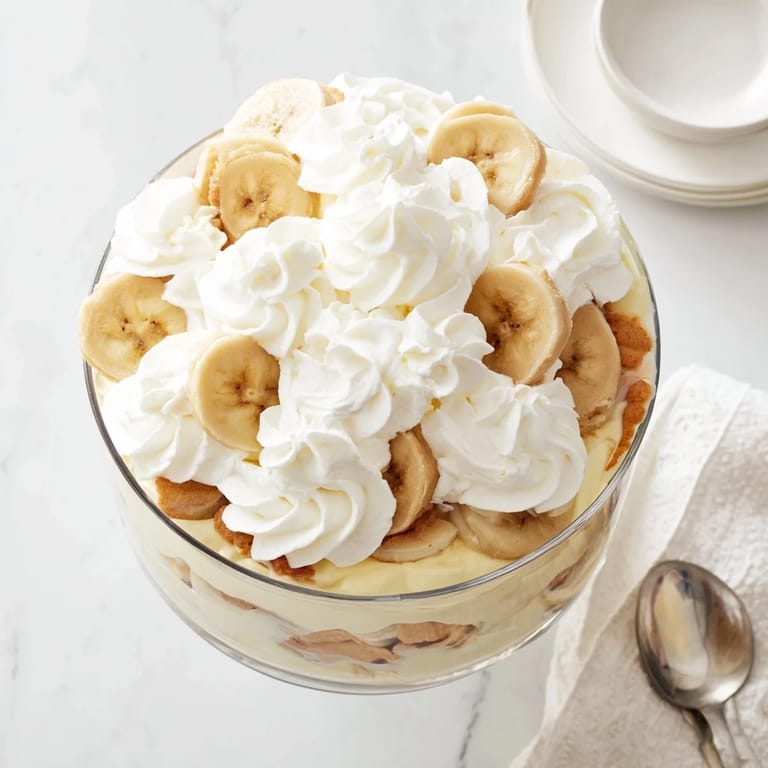
 Pin It
 My cousin once tried to speed up the chilling process and ended up with warm soup instead of pudding so patience really is part of the recipe.
Making It Ahead
The pudding actually improves after a day in the refrigerator though those banana slices might start to look a little tired around the edges.
Serving Suggestions
I like to let it sit on the counter for about fifteen minutes before serving so it's not fridge-cold and the flavors have a chance to wake up.
Perfecting Your Layers
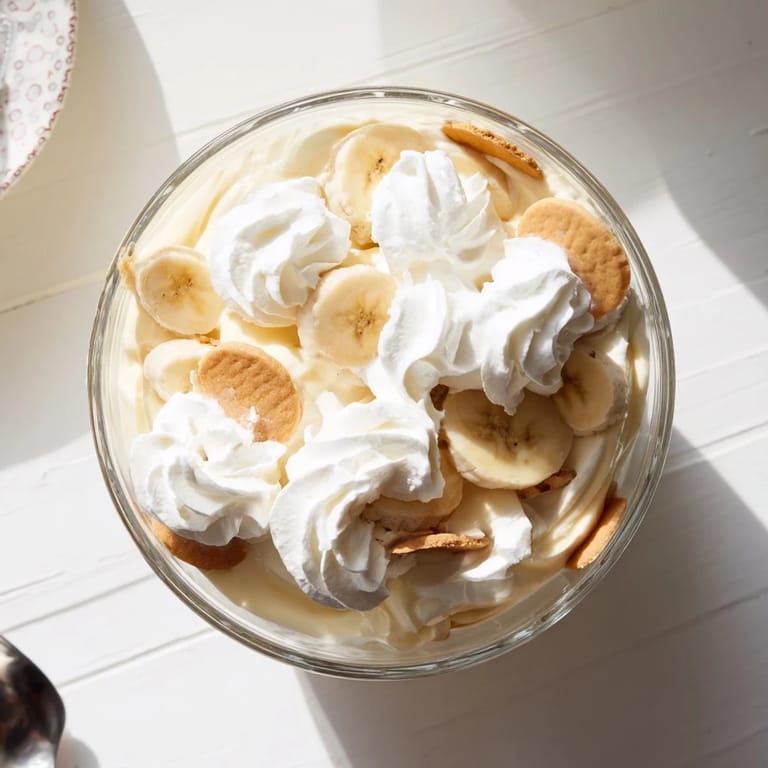
Spend time arranging your banana slices in an even pattern against the glass because those beautiful layers are what make this dessert so inviting to serve.
- Reserve a few extra vanilla wafers for crushing over the top if you want some texture contrast
- Brush banana slices with a little lemon juice if you're worried about browning
- Make sure your whipping cream is thoroughly cold for the best volume
 Pin It
 This dessert has a way of turning ordinary Tuesday dinners into something that feels like a celebration.
Recipe FAQs
- → Can I make banana pudding ahead of time?
Yes, banana pudding actually benefits from chilling. Prepare it up to 24 hours before serving, but add the whipped cream topping shortly before serving to maintain its fluffy texture. The wafers will soften slightly during chilling, which many consider the ideal consistency.
- → Why do my bananas turn brown in the pudding?
Bananas naturally oxidize and brown when exposed to air. To minimize this, slice the bananas just before assembling and arrange them so they're mostly covered by pudding. Some bakers even toss the slices in a little lemon juice or citrus juice before layering to help preserve their color.
- → Can I use instant pudding instead of homemade?
While instant pudding works in a pinch, homemade vanilla pudding provides superior creaminess and depth of flavor. The stovetop version develops a richer texture that better complements the fresh bananas and wafers. If time is extremely limited, consider using cooked pudding mix rather than instant for better results.
- → What's the best way to layer banana pudding?
Start with a layer of vanilla wafers on the bottom, followed by banana slices, then pudding. Repeat this pattern, ending with pudding on top. This arrangement keeps the bananas from browning and ensures the cookies soften evenly. Some people reserve a few wafers to crumble over the whipped cream for garnish.
- → Can I substitute vanilla wafers with other cookies?
Vanilla wafers are traditional, but butter cookies, shortbread, or even ladyfingers work well. The key is choosing a cookie that softens nicely without becoming mushy. Avoid overly sweet or heavily spiced cookies that might compete with the delicate banana and vanilla flavors.
- → How do I know when the pudding is thick enough?
The pudding is ready when it coats the back of a spoon and leaves a clear line when you run your finger through it. It should bubble gently around the edges—avoid a full rolling boil which can cause curdling. Remember that it will thicken further as it cools.