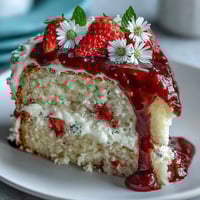
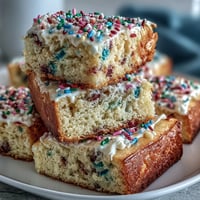
 Pin It
 My sister texted me a photo of a pastel ombre cake she'd seen at a spring wedding, and suddenly I couldn't stop thinking about recreating it. There's something almost meditative about layering soft pinks and yellows into a cake, watching the colors blend and shift as you frost the sides. The first time I made this, my kitchen smelled like butter and vanilla for hours, and I found myself slowing down, really paying attention to each stroke of the spatula. It turned out to be less about perfection and more about enjoying the quiet ritual of building something beautiful. Now whenever spring rolls around, this cake feels inevitable.
I made this for my neighbor's baby shower last April, and watching everyone gather around the dessert table felt special in a way I hadn't expected. Someone took a photo that ended up on her Instagram, and suddenly three other people were asking for the recipe. But the real win was seeing my five-year-old carefully carrying a slice to the host with both hands, so proud to share something made in our kitchen.
Ingredients
- All-purpose flour: The foundation here, and using room temperature ingredients means everything mixes together smoothly without overworking the batter, which keeps the cake tender.
- Baking powder: This is your gentle lift—too much and the cake becomes cakey, too little and it stays dense, so measure honestly.
- Unsalted butter: Room temperature is non-negotiable; cold butter won't cream properly no matter how long you beat it, and that creaming step is where the magic happens.
- Granulated sugar: This gets beaten with butter until it's pale and fluffy, which incorporates air and gives you a tender crumb instead of a dense one.
- Eggs: Room temperature eggs blend seamlessly into the butter mixture; cold eggs can cause the batter to look curdled, even though it usually evens out.
- Vanilla extract: Pure vanilla tastes noticeably better than imitation, and in a cake this delicate, that difference matters.
- Whole milk: The liquid that brings everything together; alternating it with flour prevents overmixing and keeps the cake structure tender.
- Gel food coloring: Gel holds color better than liquid and won't thin out your batter the way liquid coloring does, which keeps those pale pastels looking fresh.
- Powdered sugar: Sifted before measuring prevents lumps and gives you frosting that's silky instead of grainy.
Tired of Takeout? 🥡
Get 10 meals you can make faster than delivery arrives. Seriously.
One email. No spam. Unsubscribe anytime.
Instructions
- Set up your pans and preheat:
- Get your three 8-inch pans ready with parchment paper while the oven comes to 350°F, so you're not scrambling when the batter is ready. This small bit of planning keeps everything calm.
- Build your dry mixture:
- Whisk flour, baking powder, and salt together in a medium bowl, breaking up any lumps so everything distributes evenly. This step prevents streaks of baking powder in your finished cake.
- Cream butter and sugar:
- Beat them together on medium speed for 3 to 4 minutes until the mixture looks pale, fluffy, and almost mousse-like. You'll actually hear the mixer get a little quieter when you've reached the right texture.
- Add eggs and vanilla one by one:
- Drop in each egg separately and beat well before adding the next one, so they fully incorporate rather than sitting on top like little islands. This takes patience but makes a real difference in the final texture.
- Alternate flour and milk gently:
- Start with flour, then milk, then flour again, mixing just until you can't see dry streaks anymore. Overmixing at this stage develops gluten and makes the cake tough, so use a light hand.
- Divide and tint your batter:
- Pour the batter into three bowls and add small amounts of gel coloring—remember that pastels mean restraint, just a tiny drop or two in each bowl. You can always add more color, but you can't take it out.
- Bake with confidence:
- Pour each colored batter into its prepared pan, smooth the tops, and bake for 22 to 26 minutes until a toothpick comes out clean. The cakes are done when they've just started to pull slightly from the edges.
- Cool properly:
- Let the cakes rest in their pans for 10 minutes so they firm up enough to turn out without falling apart, then onto wire racks to cool completely. Trying to frost a warm cake is a recipe for sadness.
- Make your buttercream:
- Beat the butter until creamy, then gradually add powdered sugar and vanilla, alternating with milk until the frosting is fluffy and spreadable. If it gets too stiff, a little more milk thins it right out.
- Tint the frosting:
- Divide into three bowls and color each one to match your cake layers, using the same gentle hand with the coloring. Pale frosting that matches pale cake layers is key to that soft ombre effect.
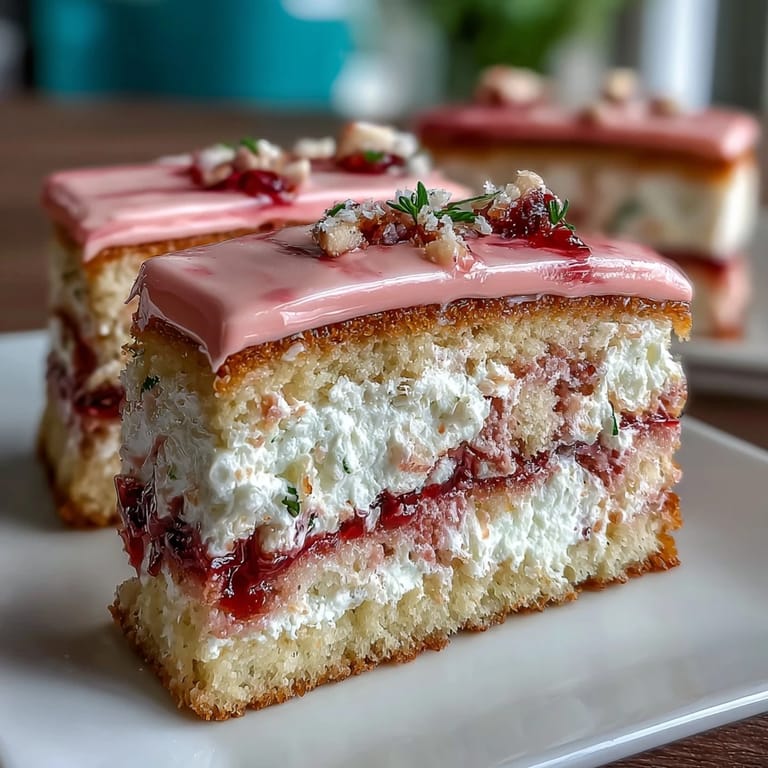
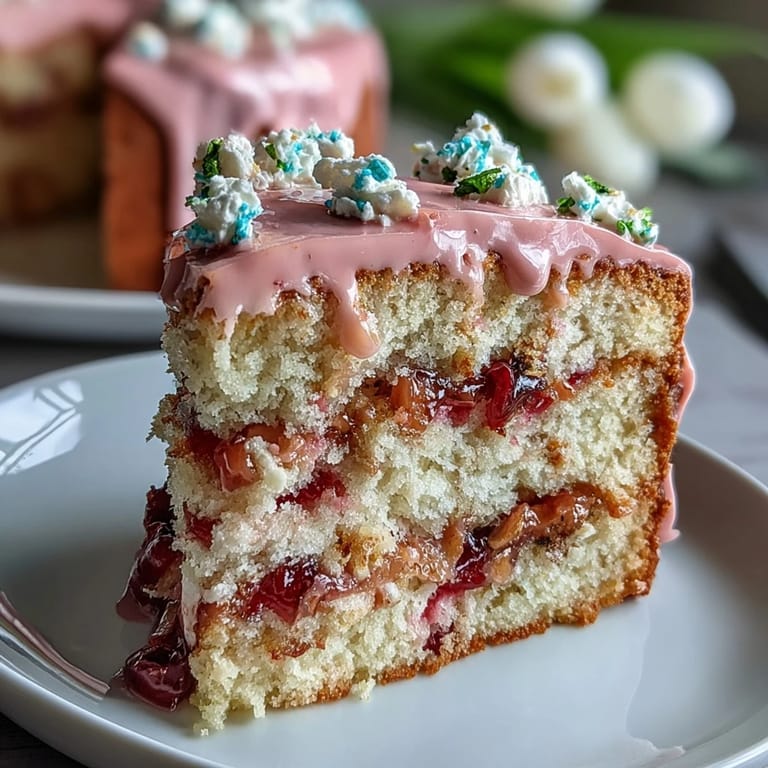
- Assemble with intention:
- Level your cake layers if they've domed, then stack yellow, peach or plain, then pink, frosting between each layer as you go. This order creates a visual gradient even before you touch the sides.
- Create the ombre magic:
- Use your offset spatula or cake scraper to blend and smooth the frosting on the sides, letting the colors naturally transition from yellow at the base to pink at the top. This is where you can slow down and really enjoy the moment—there's no rush.
- Final touches:
- Scatter pastel sprinkles, add edible flowers, or keep it simple and smooth; then chill for 30 minutes before slicing so the layers stay clean. A sharp knife dipped in hot water between cuts keeps everything looking neat.
 Pin It
 There's something about slicing into this cake for the first time that never gets old—that moment when the colors show through and suddenly all the effort becomes worth it. I made one for my partner's birthday last year, and the way they smiled before even tasting it told me everything.
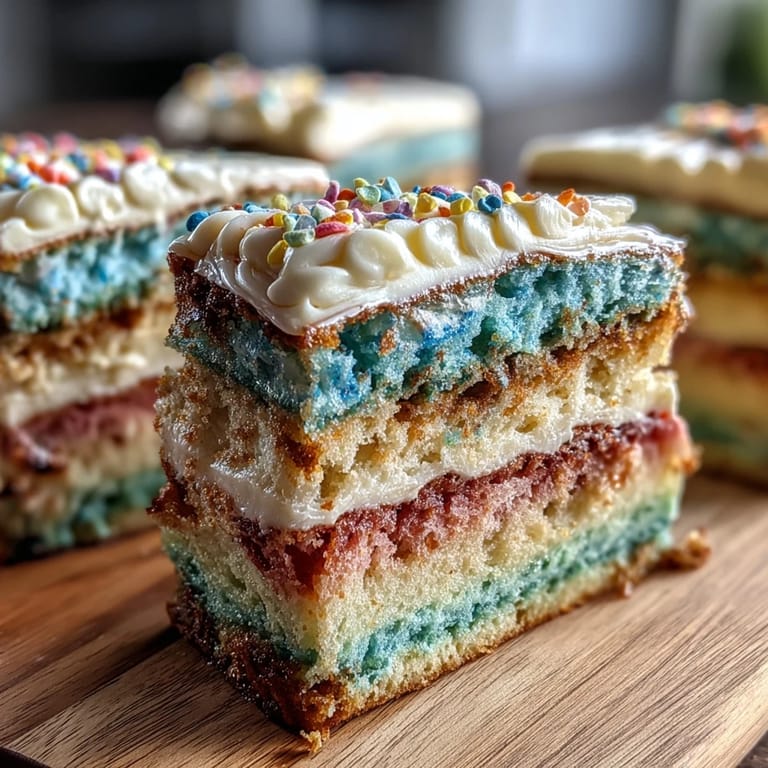
Mastering the Ombre Effect
The ombre isn't actually as fussy as it looks, once you understand the logic. Your yellow layer sits on the bottom, your pink on top, and the middle layer (whether peach or plain) is the bridge. When you frost the sides, you're just letting those colors naturally bleed into each other as your spatula moves from base to top. The first time I did this, I got nervous and tried to make hard lines, but the magic happens when you accept that soft blending is actually the whole point.
Storage and Keeping
This cake actually improves slightly after a day, once the crumb sets and the frosting firms up a little. It keeps beautifully for a day at room temperature covered with a cake dome or loose foil, or up to four days in the refrigerator. If you're serving it from the fridge, pull it out about 30 minutes early so the frosting softens and tastes creamy again instead of cold and tight.
Ways to Personalize This Cake
One of my favorite things about this recipe is how flexible it really is. You can shift the colors entirely—try soft greens and blues for ocean vibes, or warm peaches and corals for a sunset mood. The base cake stays exactly the same, so you're just playing with food coloring and keeping the same careful proportions.
- Substitute buttermilk for regular milk if you want a slightly tangier crumb with more personality.
- Add a pinch of almond extract to the batter for a subtle flavor that makes people wonder what makes this taste so good.
- Chill the assembled cake overnight and frost the next day for a calmer kitchen experience and possibly cleaner frosting work.
 Pin It
 This cake brings a moment of joy every single time, whether someone's celebrating something big or you just need to remember that beautiful things are possible in your own kitchen. Bake it and let yourself enjoy the process, not just the final slice.
Recipe FAQs
- → How can I achieve the pastel ombre effect?
Divide the batter into three portions and tint each with different amounts of pink and yellow gel food coloring to create soft gradient layers.
- → What is the best way to layer and frost this cake?
Apply tinted buttercream between each cooled cake layer and use the remaining frosting to gently blend colors on the sides for a smooth ombre finish.
- → Can I prepare this cake in advance?
Yes, the cake can be refrigerated for up to 4 days when covered tightly to maintain freshness and moisture.
- → What substitutes can I use to vary flavor?
Replacing whole milk with buttermilk adds a slight tang that complements the sweetness and texture of the sponge.
- → Which decorations work well for this cake?
Delicate pastel sprinkles and edible flowers enhance the spring theme and add a charming finishing touch.
- → What tools help achieve a clean cake finish?
Using a cake scraper or offset spatula ensures smooth frosting edges and a polished ombre gradient.