 Pin It
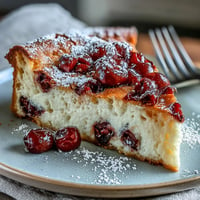
 The kitchen counter was covered in a thin layer of cocoa dust, my sister leaning against the fridge watching me melt butter and chocolate together. She had begged me to make these for her birthday, and something about the smell of chocolate slowly coming together in the saucepan made the rainy Saturday feel cozy instead of gray.
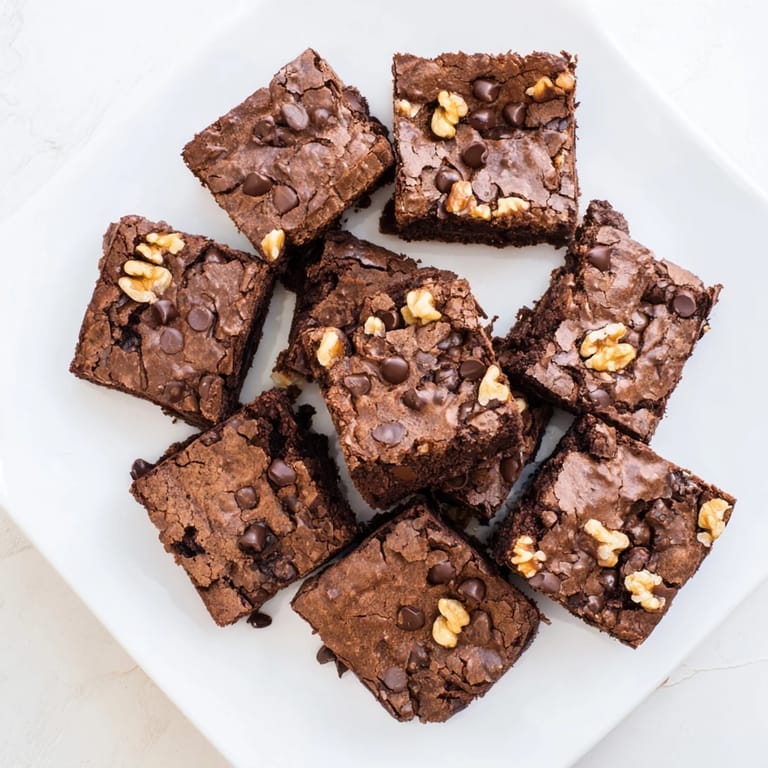
When I pulled that first batch from the oven, my apartment mate appeared from nowhere, drawn by the scent. We stood around the pan with forks, abandoning all pretense of waiting for them to cool completely. That moment of warm chocolate on tongues became our Friday tradition, something to look forward to after long weeks.
Ingredients
- 170 g semi-sweet chocolate: Choose a brand you would eat straight from the bar, since the flavor really shines through
- 115 g unsalted butter: Room temperature butter melts more evenly and prevents the chocolate from seizing
- 200 g granulated sugar: Creates that signature crackly top as it rises during baking
- 50 g light brown sugar: Adds moisture and depth that white sugar alone cannot provide
- 2 large eggs: Room temperature eggs incorporate better into the warm chocolate mixture
- 1 tsp vanilla extract: Pure vanilla makes a noticeable difference in the final flavor
- 80 g all-purpose flour: Just enough to hold everything together without turning cakey
- 30 g unsweetened cocoa powder: Sift it first to avoid stubborn lumps in your batter
- 1/4 tsp salt: Balances the sweetness and intensifies the chocolate flavor
- 100 g chopped walnuts or chocolate chips: Optional but adds lovely texture and pockets of extra chocolate
Tired of Takeout? 🥡
Get 10 meals you can make faster than delivery arrives. Seriously.
One email. No spam. Unsubscribe anytime.
Instructions
- Preheat your oven and prepare the pan:
- Set your oven to 175°C (350°F) and line a 20 cm (8-inch) square baking pan with parchment paper, leaving an overhang on two sides like little handles for easy removal later.
- Melt the chocolate and butter:
- Combine the butter and chopped chocolate in a medium saucepan over low heat, stirring constantly until melted and smooth, then remove from heat to cool slightly.
- Add the sugars:
- Stir in both the granulated and brown sugar until fully combined, taking time to dissolve any sugar crystals against the warm mixture.
- Incorporate the eggs and vanilla:
- Add the eggs one at a time, mixing well after each addition, then stir in the vanilla until the mixture looks glossy and smooth.
- Add the dry ingredients:
- Sift in the flour, cocoa powder, and salt, then fold gently with a spatula until just combined, being careful not to overmix.
- Add optional mix-ins:
- Fold in the chopped nuts or chocolate chips if using, distributing them evenly throughout the batter.
- Bake to perfection:
- Pour the batter into your prepared pan, smooth the top, and bake for 22 to 28 minutes until a toothpick inserted in the center comes out with a few moist crumbs.
- Cool and cut:
- Let the brownies cool completely in the pan, then lift them out using the parchment overhang and cut into 16 squares.
 Pin It
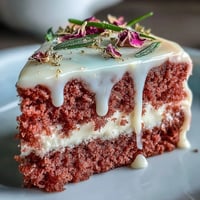
 My father called me from his vacation rental, desperate because the kitchen only had basic supplies and he needed to impress his new grandkids. I talked him through this recipe over the phone, and somehow his first attempt turned out better than mine. Now he sends me photos of his batches, topped with whatever ice cream the grandchildren picked that week.
Getting the Perfect Crackly Top
The glossy, crackled surface happens when sugar rises to the top and caramelizes during baking. Make sure your eggs are at room temperature and beat them thoroughly into the warm chocolate mixture, as this creates the structure needed for that signature professional finish.
Storage and Serving
These brownies actually improve after a day in an airtight container, as the flavors deepen and the texture becomes even more fudgy. They also freeze beautifully wrapped individually, making them perfect for unexpected guests or late night chocolate emergencies.
Customization Ideas
Once you master the base recipe, try swirling in peanut butter or adding dried tart cherries for a sophisticated twist.
- Substitute white chocolate chips for a different flavor profile
- Add espresso powder to intensify the chocolate notes
- Sprinkle flaky sea salt on top before baking for a sweet and salty finish
 Pin It
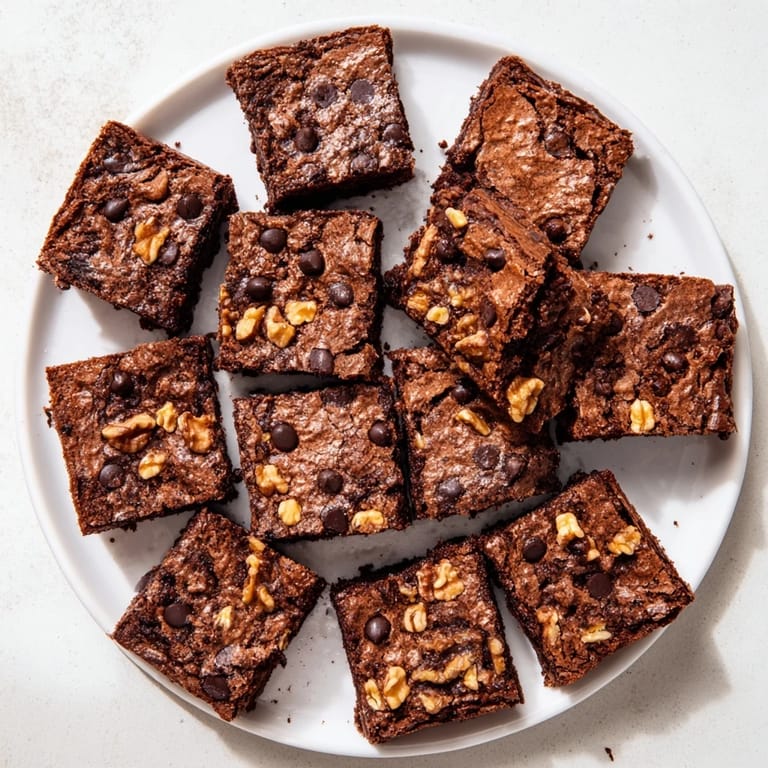
 There is something profoundly satisfying about cutting into a pan of homemade brownies, the knife sliding through that perfect crackly top. May your kitchen always smell like chocolate and possibility.
Recipe FAQs
- → What makes brownies fudgy versus cakey?
Fudgy brownies have higher fat content from butter and chocolate with less flour. The melted chocolate creates density, while minimal mixing prevents air incorporation. Cakey versions use more flour and often incorporate butter differently.
- → How do I know when brownies are done baking?
Insert a toothpick into the center—it should come out with a few moist crumbs, not completely clean. The edges should be set but the center slightly soft. They'll continue cooking as they cool.
- → Why do brownies get a crackly top?
The crackly top forms when sugar rises to the surface during baking and caramelizes, while the meringue-like structure from beaten eggs creates delicate cracks. Using both granulated and brown sugar enhances this effect.
- → Can I make brownies without melting chocolate?
You can use cocoa powder instead of melted chocolate, though the texture will be slightly less dense. Use Dutch-processed cocoa for deeper flavor and increase butter slightly to maintain richness.
- → How should I store brownies for freshness?
Store in an airtight container at room temperature for up to 3 days. For longer storage, refrigerate for up to a week or freeze individually wrapped pieces for up to 3 months. Bring to room temperature before serving.
- → What's the best way to cut clean brownie squares?
Let brownies cool completely in the pan. For cleanest cuts, refrigerate for 1 hour before slicing. Use a sharp knife wiped clean between cuts, or use a plastic knife sprayed with cooking spray.