 Pin It
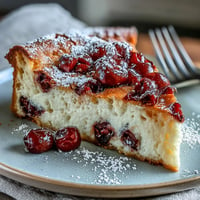
 My grandmother never measured anything when making apple pie, she just knew by the way the dough felt under her fingers and the smell of the apples. It took me years of failed crusts and soggy bottoms to understand what she instinctively understood. Now when I work that cold butter into flour, I can almost hear her humming in her sunny kitchen.
Last Thanksgiving, I made three of these pies because my family kept requesting seconds. The kitchen smelled like cinnamon and butter for hours, and my brother actually took home an entire pie because he could not stop eating it.
Ingredients
- All-purpose flour: The backbone of your crust, providing structure while still staying tender
- Cold unsalted butter: Keeping it icy cold creates those magical flaky layers we all love
- Ice water: Add just enough to bring the dough together without making it tough
- Granny Smith and Honeycrisp apples: This combination gives you the perfect balance of tart and sweet
- Both granulated and brown sugar: White sugar provides sweetness while brown adds depth and caramel notes
- Ground cinnamon and nutmeg: Classic warm spices that make everything feel like home
- Lemon juice: A small splash prevents the apples from browning and brightens all the flavors
Tired of Takeout? 🥡
Get 10 meals you can make faster than delivery arrives. Seriously.
One email. No spam. Unsubscribe anytime.
Instructions
- Make the Pie Crust:
- Whisk together your flour, salt, and sugar in a large bowl, then work in that cold butter until the mixture looks like coarse crumbs. Drizzle in ice water a tablespoon at a time, tossing gently until the dough just holds together when squeezed.
- Chill the Dough:
- Divide your dough in half, form each into a disk, wrap tightly, and let them rest in the refrigerator for at least an hour. This relaxation time prevents the crust from shrinking during baking.
- Prepare the Apples:
- Peel, core, and slice your apples into even 1/4 inch pieces, then toss them with both sugars, spices, flour, and lemon juice until every slice is coated.
- Assemble Your Pie:
- Roll out one dough disk and fit it gently into your pie dish, letting the edges overhang slightly. Pile in those spiced apples, dot with butter pieces, then cover with your second rolled crust.
- Seal and Vent:
- Trim any excess dough, then press and crimp the edges to seal everything inside. Cut several slits in the top crust so steam can escape while baking.
- Give It Some Shine:
- Whisk together your egg and milk, then brush this mixture all over the top crust for that gorgeous golden finish. Sprinkle with coarse sugar if you want extra sparkle and crunch.
- Bake to Perfection:
- Bake on the lower rack at 400°F for 45 to 55 minutes until the crust is deeply golden and you can see the filling bubbling through those vents. Cover the edges with foil if they brown too quickly.
- The Hardest Part:
- Let the pie cool on a wire rack for at least two hours before slicing. This patience gives the filling time to set so you get perfect slices instead of a runaway mess.
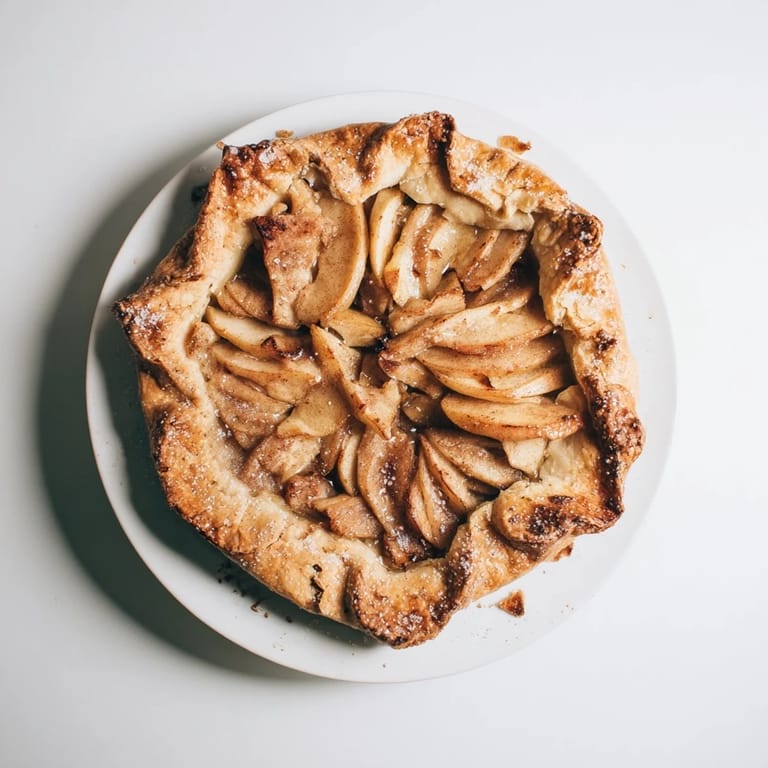
 Pin It
 The first time I served this at a dinner party, one guest told me it tasted exactly like the pie her mother used to make. She asked for the recipe, and we ended up talking about family traditions for the rest of the evening.
Choosing Your Apples
I have learned through many experiments that using all sweet apples makes the pie cloying while all tart apples can taste too sharp. The magic happens when you combine them, usually about half Granny Smith for structure and tang, half Honeycrisp or Gala for natural sweetness. Your local market probably has great recommendations if you want to try different varieties.
Mastering the Crimp
My early attempts at crimping looked messy and uneven, but I eventually developed a simple technique that works every time. Press your thumb down into the dough between the thumb and index finger of your other hand, then move around the edge of the pie creating a consistent pattern. Do not stress about perfection, because the homemade look is part of the charm anyway.
Making It Ahead
You can absolutely make the dough up to two days in advance and keep it wrapped tightly in the refrigerator. The filling can also be prepared several hours ahead, just keep the apples in a colander to drain excess liquid before assembling. This makes the whole process feel much less overwhelming when you are hosting.
- Wrap your assembled pie tightly and freeze it unbaked for up to three months
- Add an extra 15 to 20 minutes to the baking time if baking from frozen
- Always bake frozen pies on a sheet pan to catch any potential drips
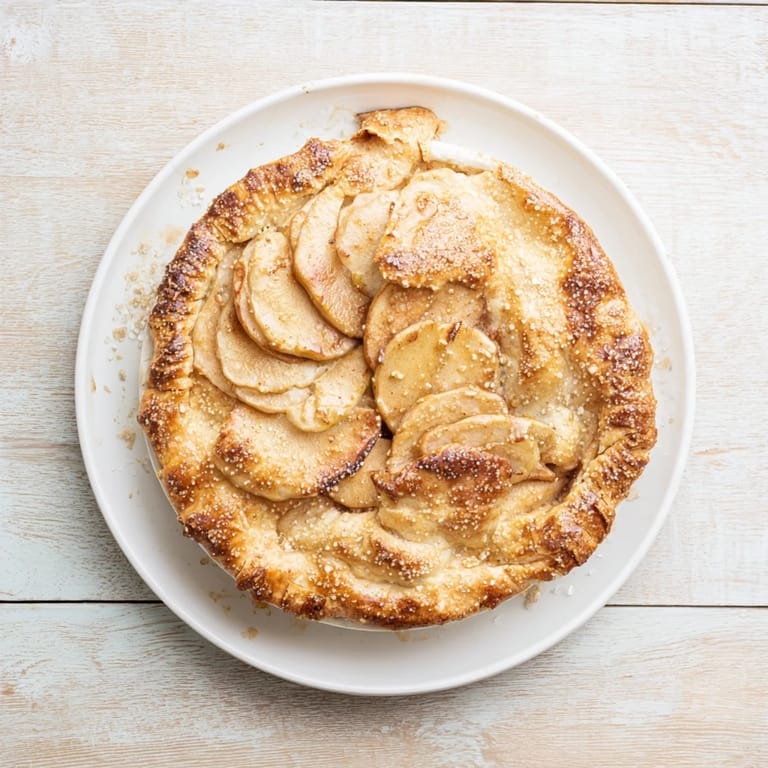
 Pin It
 There is something deeply satisfying about pulling a golden, bubbling apple pie from the oven and seeing everyone face light up. This is the kind of dessert that turns ordinary Tuesdays into occasions worth celebrating.
Recipe FAQs
- → What apples work best for filling?
A mix of Granny Smith and Honeycrisp apples provides excellent balance. Granny Smith offers tartness and holds shape during baking, while Honeycrisp adds natural sweetness. You can also use Braeburn, Jonagold, or Pink Lady with great results.
- → Why must the pie cool before slicing?
Cooling for at least two hours allows the filling to set properly. The thickened fruit juices need time to firm up, otherwise you'll end up with a runny slice. Patience rewards you with clean, picture-perfect servings.
- → Can I make the dough ahead of time?
Absolutely. The pastry dough can be wrapped tightly and refrigerated for up to two days, or frozen for up to three months. Thaw frozen dough in the refrigerator overnight before rolling out.
- → How do I prevent a soggy bottom crust?
Baking on the lower oven rack position helps the bottom crust cook through properly. Also avoid overfilling with apples, as excess moisture makes the crust soggy. Make sure your oven is fully preheated before placing the pie inside.
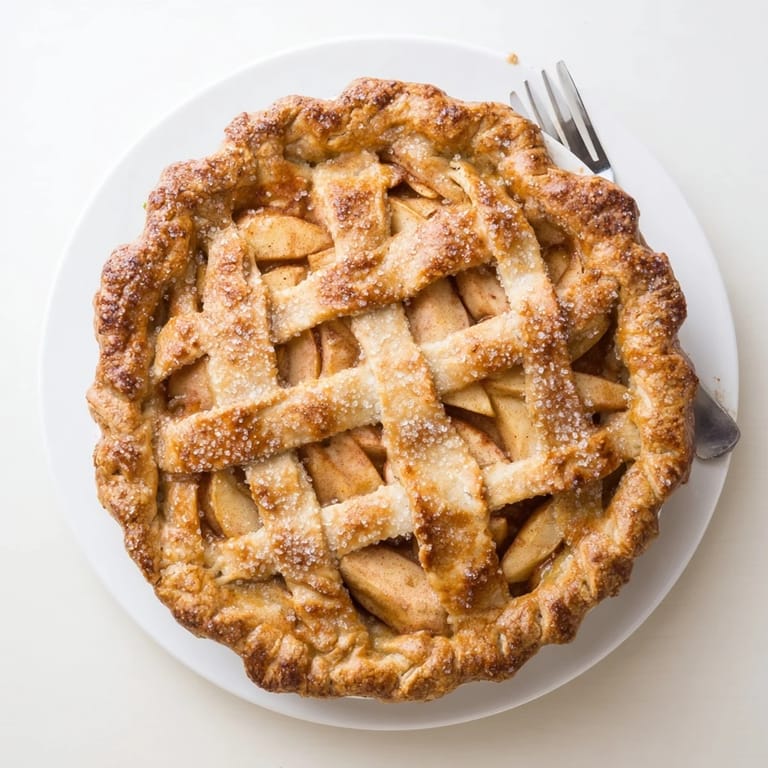
- → What can I use instead of a full top crust?
Create a beautiful lattice top by cutting the second dough disk into strips and weaving them over the filling. Alternatively, use a streusel topping made from oats, brown sugar, butter, and flour for added texture and flavor.
- → How should I store leftovers?
Cover loosely with foil or plastic wrap and keep at room temperature for up to two days. For longer storage, refrigerate for up to five days. Reheat individual slices in the microwave for about 20 seconds or in a 350°F oven for 10 minutes.